Ingredients
Equipment
Method
- Season the chicken: Place the thinly sliced chicken in a bowl. Add chili powder, smoked paprika, cumin, garlic powder, onion powder, salt, and black pepper. Toss until evenly coated and let it rest for about 10 minutes.
- Prepare the vegetables: Slice the red, yellow, and green bell peppers and onion into thin, even strips.
- Cook the chicken: Heat a large skillet over medium-high heat and add a little oil. Add the seasoned chicken in a single layer and cook for about 4–6 minutes, stirring occasionally, until browned and cooked through. Transfer to a clean plate.
- Cook the vegetables: Add the sliced peppers and onions to the same skillet. Cook for about 5–7 minutes, stirring occasionally, until tender but still slightly crisp.
- Combine the filling: Return the cooked chicken to the skillet and toss with the vegetables. Cook for another 1–2 minutes, allowing the flavors to combine. Remove from the heat.
- Warm the tortillas: Briefly warm each tortilla in a dry skillet for about 10–15 seconds per side to make them flexible and easier to fold.
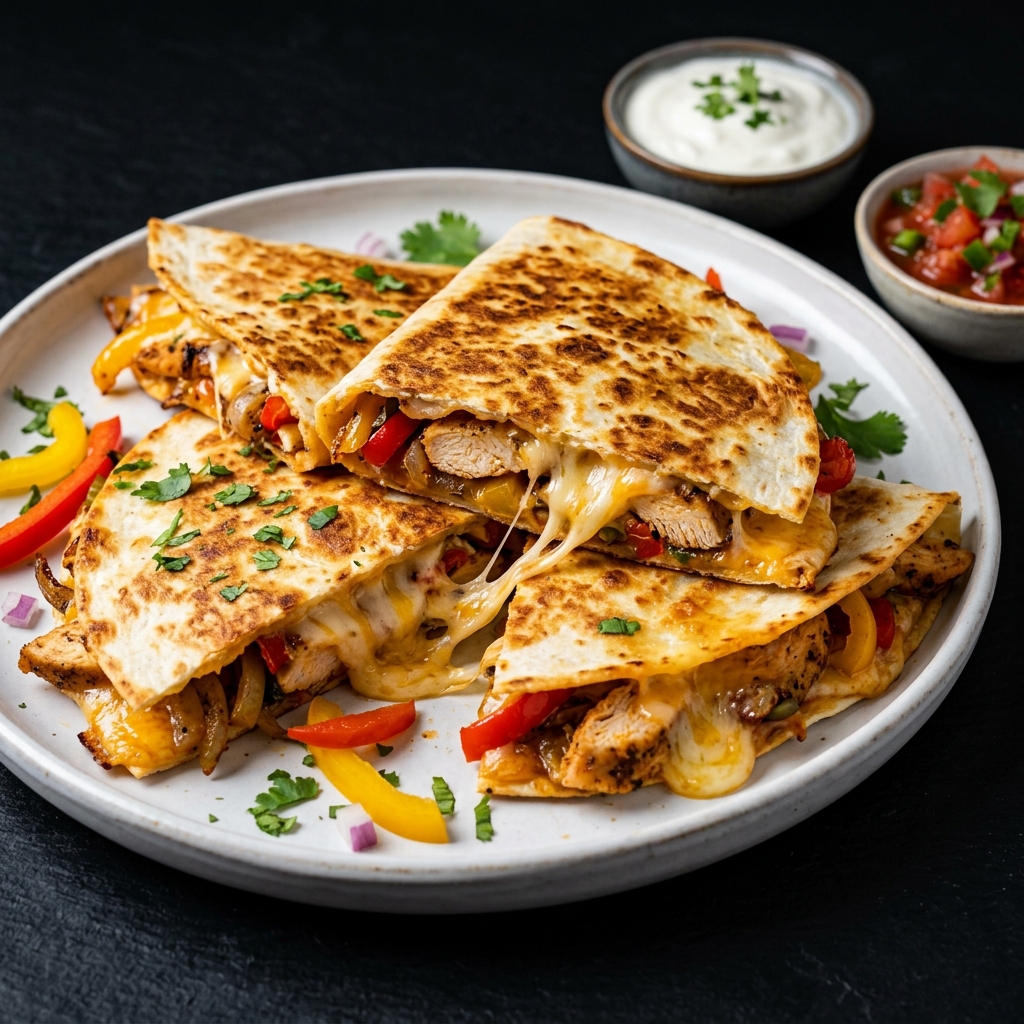
- Assemble the quesadillas: Place a tortilla on a clean surface. Sprinkle cheese over one half, leaving a small border around the edge. Add a moderate layer of the chicken fajita mixture, then sprinkle another layer of cheese over the filling. Fold the tortilla in half.
- Cook the quesadillas: Heat a clean skillet over medium heat and lightly coat it with oil. Place the assembled quesadilla in the skillet and cook for 2–4 minutes, until golden brown and crisp.
- Flip: Carefully flip with a wide spatula and cook the other side for another 2–3 minutes, or until golden and the cheese is completely melted.
- Rest and slice: Transfer to a cutting board and let rest for 1–2 minutes. Slice into three or four wedges.
- Serve: Garnish with fresh cilantro and serve immediately with lime wedges, salsa, sour cream, or your favorite quesadilla toppings.
Notes
Don't overfill: Too much filling makes the quesadilla difficult to flip and prevents the tortilla from becoming properly crisp.
For better browning: Cook the chicken without overcrowding the skillet so it browns instead of steaming.
For the best cheese melt: Freshly shred the cheese from a block when possible.
Keep the filling fairly dry: Allow excess moisture from the vegetables to cook away before assembling.
Control the heat: Medium heat is ideal for the final cooking stage. Very high heat can burn the tortilla before the cheese melts.
Chicken thighs: Boneless, skinless chicken thighs can be substituted for chicken breasts.
Storage: Refrigerate leftover cooked quesadillas in an airtight container for up to 3–4 days. Reheat in a skillet or air fryer for the crispiest results.
Freezing: Cooked quesadillas can be wrapped individually and frozen for up to about 2 months. Reheat in a skillet or air fryer until hot and crisp.
Diet note: Traditional flour-tortilla chicken quesadillas are not gluten-free, low-carb, keto, vegan, or vegetarian. Gluten-free or low-carb tortillas can be used if needed.
For better browning: Cook the chicken without overcrowding the skillet so it browns instead of steaming.
For the best cheese melt: Freshly shred the cheese from a block when possible.
Keep the filling fairly dry: Allow excess moisture from the vegetables to cook away before assembling.
Control the heat: Medium heat is ideal for the final cooking stage. Very high heat can burn the tortilla before the cheese melts.
Chicken thighs: Boneless, skinless chicken thighs can be substituted for chicken breasts.
Storage: Refrigerate leftover cooked quesadillas in an airtight container for up to 3–4 days. Reheat in a skillet or air fryer for the crispiest results.
Freezing: Cooked quesadillas can be wrapped individually and frozen for up to about 2 months. Reheat in a skillet or air fryer until hot and crisp.
Diet note: Traditional flour-tortilla chicken quesadillas are not gluten-free, low-carb, keto, vegan, or vegetarian. Gluten-free or low-carb tortillas can be used if needed.