Ingredients
Equipment
Method
Prepare the Cherries
- Wash, dry, and pit the cherries. Roughly chop them, keeping some pieces slightly larger for texture.
Cook the Cherries
- Place the chopped cherries and ¼ cup sugar in a medium saucepan. Cook over medium heat for about 5–8 minutes, stirring frequently, until the cherries soften and release their juices and the mixture becomes slightly syrupy.
- Remove from the heat and cool completely.
Chill the Cherry Mixture
- Transfer the cooked cherries to a covered container and refrigerate until thoroughly chilled. For the best results, chill for at least 1–2 hours or prepare them the day before.
Make the Cream Base
- In a large bowl, whisk together the heavy cream, whole milk, remaining ½ cup sugar, vanilla extract, and optional pinch of salt until the sugar has dissolved completely.
Combine
- Stir the chilled cherry mixture and its juices into the cream base. Mix gently until evenly distributed.
Chill the Base
- Cover and refrigerate the complete ice cream mixture for at least 2–4 hours, or preferably overnight. The mixture should be very cold before churning.
Churn
- Pour the chilled mixture into your ice cream maker and churn according to the manufacturer's instructions, usually for approximately 20–30 minutes, or until it reaches a thick soft-serve consistency.
Add the Chocolate
- During the final few minutes of churning, gradually add the chopped chocolate so it becomes evenly distributed throughout the ice cream.
Freeze
- Transfer the freshly churned ice cream to a freezer-safe container. For extra cherry and chocolate flavor, layer additional small pieces of cherries and chocolate between scoops of ice cream.
- Smooth the surface, cover tightly, and freeze for at least 4–6 hours, or until firm.
Serve
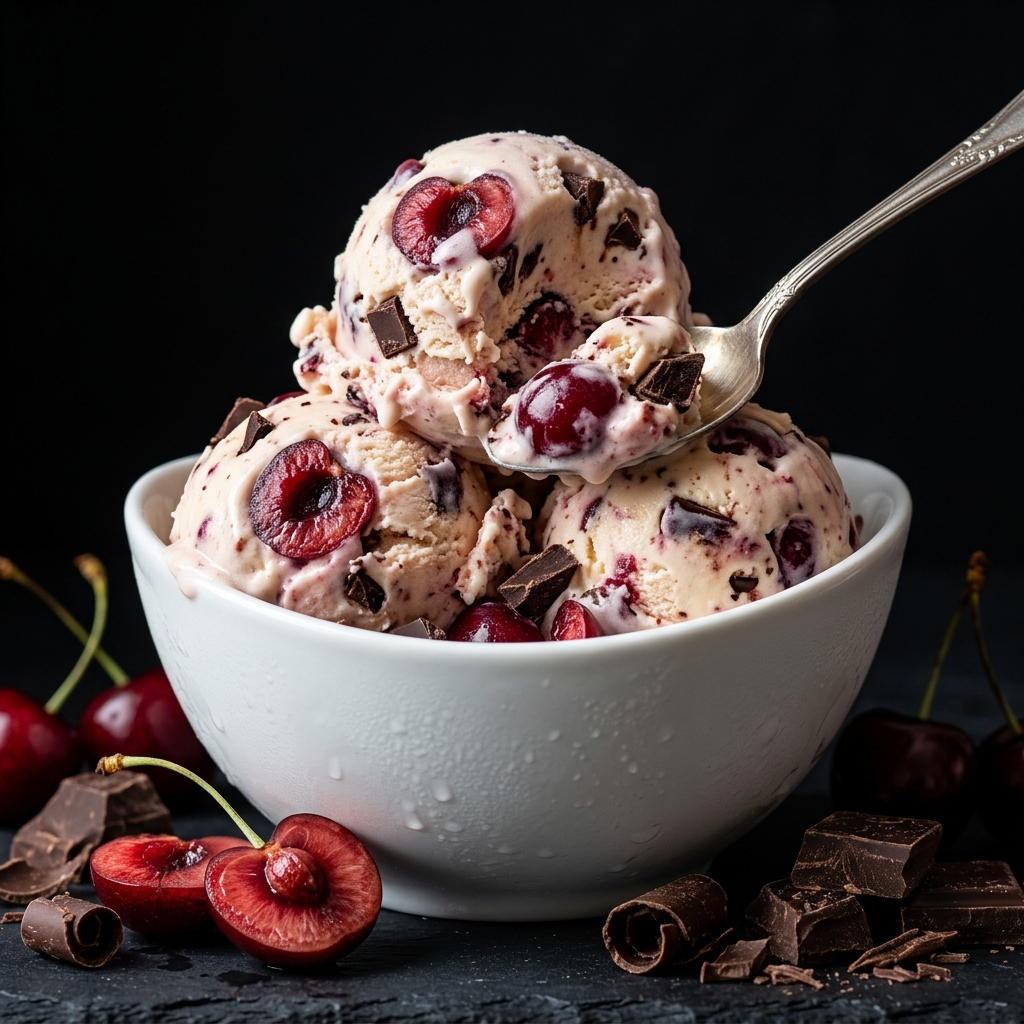
- Allow the ice cream to sit at room temperature for about 5–10 minutes before scooping if it is very firm. Serve with fresh cherries, chocolate shavings, or your favorite toppings.
Notes
Fresh or frozen cherries: Fresh cherries provide the best flavor, but frozen cherries can be used when fresh are unavailable. Thaw and drain them before cooking.
Chocolate: Semisweet chocolate creates a classic sweet chocolate flavor, while bittersweet or dark chocolate gives the ice cream a deeper, less-sweet profile.
Don't skip chilling: The ice cream base should be thoroughly cold before churning. This helps the ice cream freeze faster and develop a smoother texture.
Cherry texture: Avoid completely pureeing the cherries if you want recognizable cherry pieces throughout the ice cream.
Chocolate size: Keep chocolate pieces relatively small because large pieces become very firm when frozen.
Storage: Keep the ice cream tightly covered in an airtight freezer-safe container. For the best texture and flavor, enjoy within 1–2 weeks.
Gluten-free: The basic recipe is generally gluten-free, but check packaged chocolate and other ingredients for potential gluten or cross-contact if needed.
Not keto or low-carb: Traditional sugar and cherries make this recipe unsuitable for a standard keto or low-carb diet.
Dairy-free option: For a dairy-free version, substitute full-fat plant-based cream and a suitable dairy-free milk, and use dairy-free chocolate.
Scoopability: If the ice cream becomes very firm, let it stand at room temperature for 5–10 minutes before serving.