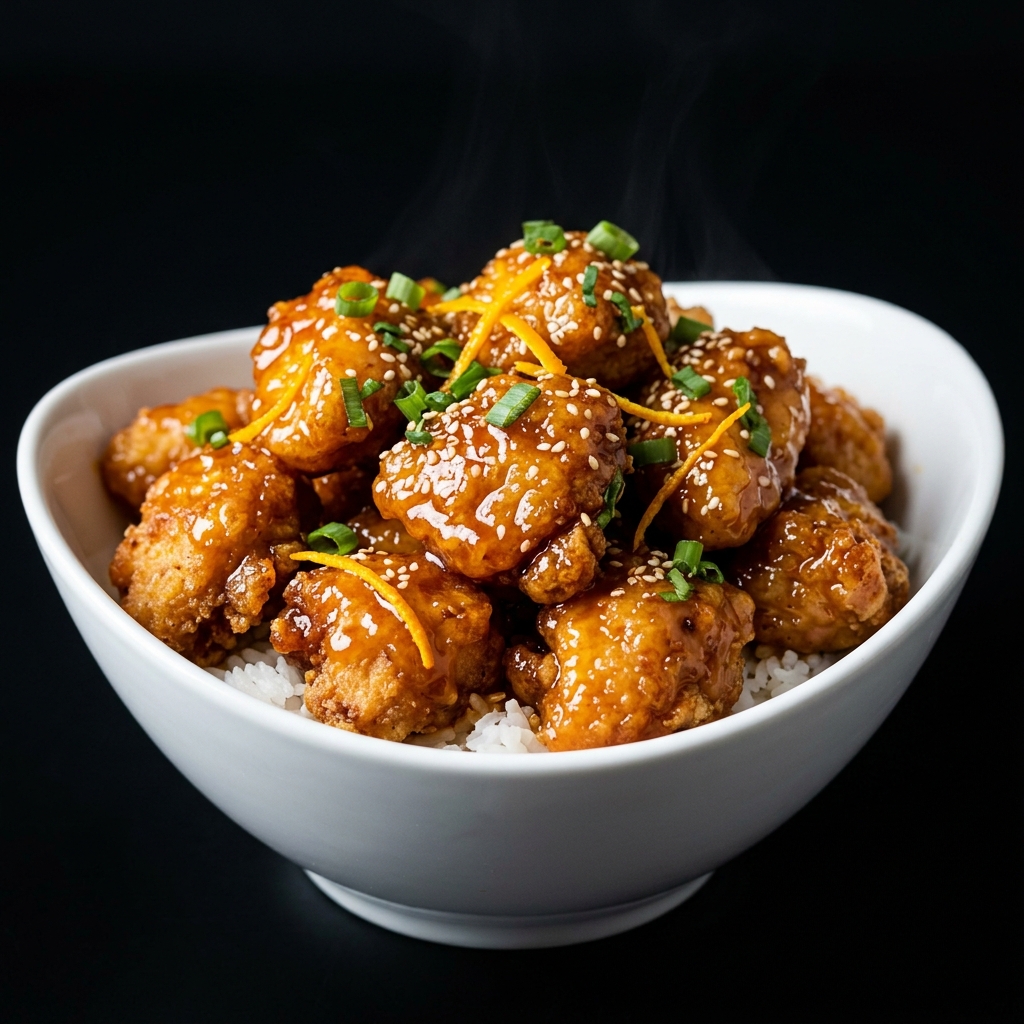
There is something irresistible about golden, crispy chicken coated in a glossy orange sauce that is sweet, tangy, savory, and bursting with fresh citrus flavor. This homemade Orange Chicken brings that takeout-style experience straight to your kitchen with simple ingredients, crisp chicken, and a sticky sauce that clings to every bite.
Why You’ll Love This Orange Chicken Recipe
Orange Chicken is one of those recipes that feels special without requiring complicated cooking techniques. The chicken is coated and cooked until beautifully golden, then tossed in a bright orange sauce made with fresh orange juice, zest, garlic, ginger, soy sauce, and a touch of sweetness.
The real magic is in the contrast. You get crisp edges against a tender center, followed by a glossy sauce that delivers sweet, citrusy, savory, and slightly tangy flavors all at once. Finished with sesame seeds and fresh green onions, it looks just as impressive as it tastes.
It is also a practical dinner recipe. Most of the ingredients are easy to find, the sauce comes together quickly, and you can serve the finished chicken with steamed rice, noodles, or vegetables depending on what your family enjoys.
Ingredients You’ll Need
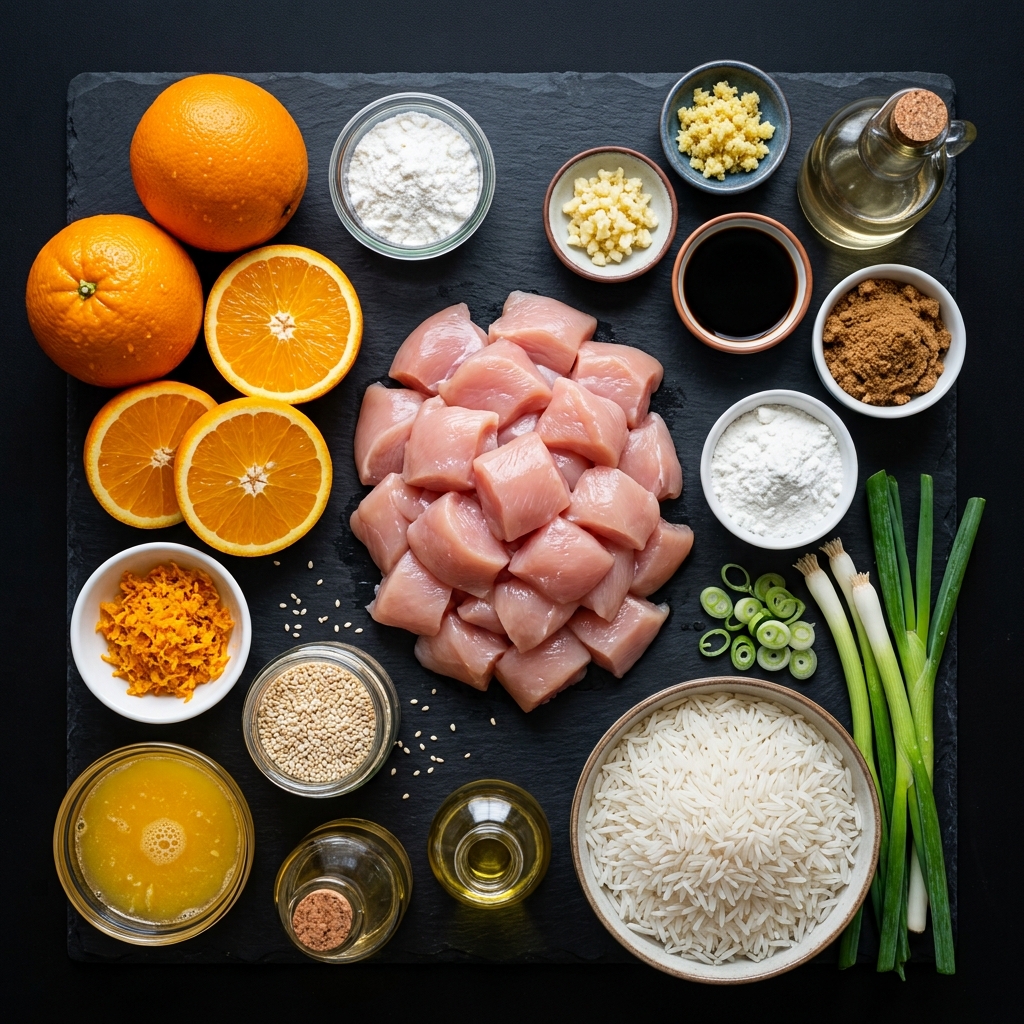
For the Chicken
- 2 pounds boneless, skinless chicken breasts – Cut the chicken into small, evenly sized bite-sized pieces. Chicken thighs can also be used if you prefer darker meat with a richer flavor.
- 1/2 cup cornstarch – This is important for creating the crisp coating that gives Orange Chicken its characteristic texture.
- 1/4 cup all-purpose flour – A small amount of flour adds structure to the coating and helps it brown beautifully.
- 1 teaspoon salt – Enhances the natural flavor of the chicken.
- 1/2 teaspoon black pepper – Adds gentle seasoning without overpowering the orange sauce.
- 1/2 teaspoon garlic powder – Adds another layer of savory flavor to the chicken.
- 1 large egg – Helps the coating adhere to the chicken and contributes to a crisp exterior.
- 1/4 cup milk or water – Used with the egg to create a light dipping mixture.
- Oil for cooking – Use a neutral oil suitable for frying, such as vegetable, canola, or peanut oil.
For the Orange Sauce
- 1 cup fresh orange juice – Freshly squeezed orange juice gives the sauce a much brighter citrus flavor than many bottled juices.
- 1 tablespoon finely grated orange zest – Zest contains concentrated citrus oils, making the orange flavor much more noticeable.
- 1/2 cup brown sugar – Provides sweetness and helps the sauce develop its characteristic sticky consistency.
- 1/4 cup soy sauce – Adds savory depth and balances the sweetness.
- 2 tablespoons rice vinegar – Gives the sauce a pleasant tang that keeps it from tasting overly sweet.
- 3 cloves garlic, minced – Adds savory aroma and warmth.
- 1 tablespoon fresh ginger, finely grated – Provides a fresh, slightly spicy note that pairs beautifully with orange.
- 1 tablespoon cornstarch – Helps thicken the sauce so it coats the chicken instead of pooling at the bottom of the bowl.
- 2 tablespoons water – Used to create a cornstarch slurry.
- 1/2 teaspoon red pepper flakes – Optional, but excellent if you enjoy a little heat.
For Garnishing
- 2 green onions, thinly sliced
- 1 tablespoon sesame seeds
- Extra orange zest, optional
- Thin orange slices, optional for presentation
Fresh orange is worth using here whenever possible. The juice provides acidity and sweetness, while the zest supplies aromatic citrus oils that make the finished sauce taste noticeably fresher.
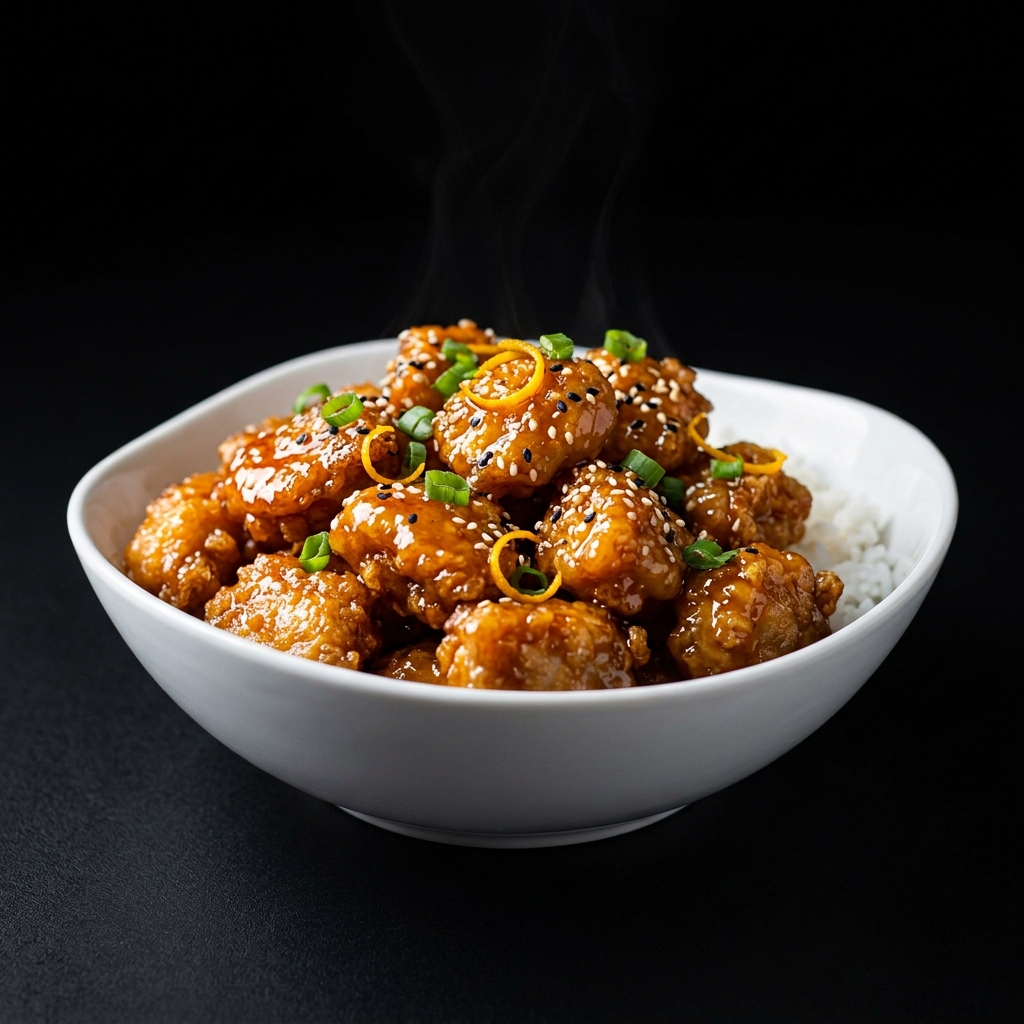
How to Make Orange Chicken
Step 1: Prepare the Chicken
Start by patting the chicken pieces dry with paper towels. This small step makes a difference because excess moisture can interfere with browning and prevent the coating from becoming properly crisp.
Cut the chicken into pieces that are approximately the same size. Uniform pieces cook at roughly the same rate, which means you are less likely to end up with some pieces overcooked while others are still underdone.
Place the chicken in a bowl and season it with salt, black pepper, and garlic powder. Toss thoroughly so the seasoning reaches every piece.
Step 2: Prepare the Coating
In one shallow bowl, whisk together the egg and milk or water.
In another bowl, combine the cornstarch and flour.
Dip each piece of seasoned chicken into the egg mixture, allowing the excess to drip away. Then transfer it to the cornstarch-flour mixture and toss until completely coated.
For especially crispy chicken, gently press the coating onto the chicken with your fingers. You want a thin but complete layer rather than a thick, doughy coating.
Arrange the coated chicken pieces on a plate or baking sheet while you finish the remaining pieces.
Step 3: Heat the Oil Properly
Pour enough neutral oil into a heavy-bottomed skillet or pot to provide a suitable frying depth. Heat the oil over medium-high heat.
The oil should be hot enough that a small piece of coating dropped into it begins bubbling immediately. If the oil is too cool, the chicken can absorb excess oil and become greasy. If it is excessively hot, the outside can brown before the center has cooked through.
For the most consistent results, avoid overcrowding the pan. Frying too many pieces simultaneously lowers the oil temperature and can prevent the chicken from becoming crisp.
Step 4: Cook the Chicken
Carefully add the coated chicken pieces to the hot oil in batches.
Cook until the exterior is golden brown and crisp, turning the pieces occasionally so they brown evenly. Depending on the size of your chicken pieces and the temperature of the oil, this generally takes several minutes per batch.
The chicken should reach a safe internal temperature of 165°F (74°C).
Transfer the cooked chicken to a wire rack set over a baking sheet if possible. A wire rack allows excess oil to drain away while keeping the bottom of the chicken from becoming soggy. A paper towel-lined plate can also work, although the underside may lose some crispness.
Continue until all the chicken is cooked.
How to Make the Homemade Orange Sauce
Step 5: Combine the Sauce Ingredients
While the chicken is cooking, prepare the sauce.
In a medium saucepan, combine the fresh orange juice, orange zest, brown sugar, soy sauce, rice vinegar, garlic, ginger, and red pepper flakes if using.
Whisk everything together over medium heat.
The sauce will initially look relatively thin, but that is exactly what you want. It needs time to reduce slightly and develop concentrated flavor before the thickener is added.
Step 6: Make the Cornstarch Slurry
In a small bowl, stir together the cornstarch and water until completely smooth.
This is called a cornstarch slurry. Mixing cornstarch with cold or room-temperature liquid before adding it to a hot sauce helps prevent stubborn lumps.
Once the orange sauce begins to simmer gently, slowly pour in the slurry while whisking continuously.
Continue cooking for a few minutes until the sauce thickens and becomes glossy.
Do not walk away at this stage. Cornstarch thickens relatively quickly, and stirring helps distribute it evenly throughout the sauce.
Step 7: Taste and Adjust the Sauce
This is one of the most useful steps in making restaurant-style Orange Chicken at home.
Taste a small amount of the sauce once it has thickened. If it tastes too sweet, a tiny splash of rice vinegar can bring the flavors back into balance. If it needs more savory depth, a small amount of soy sauce can help. If the orange flavor is not pronounced enough, a little additional zest can brighten it.
Remember that the chicken itself is seasoned, so the finished sauce does not need to be overwhelmingly salty.
Step 8: Toss the Chicken in the Orange Sauce
Place the crispy chicken into a large bowl or skillet.
Pour the warm orange sauce over the chicken and gently toss until every piece is coated.
Work fairly quickly once the chicken and sauce meet. The longer the crispy chicken sits in the sauce, the more moisture it absorbs, so serving soon after tossing gives you the best contrast between the crisp coating and sticky glaze.
Finish with sliced green onions, sesame seeds, and a little extra orange zest if desired.
The Secret to Crispy Orange Chicken
The sauce is important, but the chicken’s texture is what can turn an ordinary Orange Chicken recipe into something memorable.
The biggest mistake is assuming that simply frying the chicken guarantees crispiness. Moisture, overcrowding, an improperly heated pan, and allowing the finished chicken to sit in sauce for too long can all work against you.
Cornstarch is particularly useful because it creates a light, crisp exterior rather than the heavier coating you might get from using flour alone. Keeping the chicken pieces reasonably small also helps them cook quickly while developing plenty of golden edges.
Another professional kitchen trick is to use a wire rack after frying. Instead of allowing the hot chicken to sit directly on a flat surface where steam becomes trapped underneath, the rack allows air to circulate around it. This helps preserve the crust while you finish the remaining batches.
Variations to Try
Spicy Orange Chicken
For a hotter version, increase the red pepper flakes or add a small amount of chili sauce to the orange sauce. Freshly sliced chili peppers can also provide both heat and color.
Orange Chicken with Chicken Thighs
Boneless, skinless chicken thighs make an excellent substitute for chicken breasts. They contain more fat and tend to remain particularly juicy, making them a good choice if you prefer richer, more tender chicken.
Baked Orange Chicken
If you want to reduce the amount of oil used, arrange the coated chicken pieces in a single layer on a lightly greased baking sheet or rack and bake until cooked through and golden. The texture will be different from traditionally fried chicken, but you can still achieve a delicious orange-glazed dinner.
Air Fryer Orange Chicken
The air fryer can produce a nicely crisp coating with considerably less oil. Arrange the coated chicken in a single layer without overcrowding the basket, cook until golden and cooked through, then toss the chicken with the prepared orange sauce.
Vegetable-Packed Orange Chicken
Turn this into a more complete one-pan-style meal by serving the chicken alongside or over stir-fried broccoli, bell peppers, snap peas, carrots, or snow peas.
Gluten-Free Orange Chicken
For a gluten-free version, replace regular soy sauce with certified gluten-free tamari or another gluten-free soy sauce alternative, and make sure your other packaged ingredients are labeled gluten-free.
Expert Tips for Better Orange Chicken
Use fresh orange zest. The juice provides acidity and citrus flavor, but the zest contains concentrated aromatic oils that make the orange character much more pronounced.
Cut the chicken evenly. Similar-sized pieces cook more consistently and give the finished dish a much more professional appearance.
Do not overcrowd the pan. Give the chicken enough space to fry properly. If necessary, work in several batches.
Keep the sauce balanced. Great Orange Chicken is not simply sweet. It should have a combination of citrus, sweetness, acidity, savory flavor, and optional heat.
Do not make the sauce excessively thick. The ideal sauce should be glossy and cling to the chicken while remaining silky. If it becomes too thick, whisk in a small splash of orange juice or water.
Sauce the chicken immediately before serving. This is perhaps the most important texture tip. Tossing the chicken in sauce too early allows the coating to absorb moisture and soften.
Use a thermometer when frying. Oil temperature affects both texture and cooking time. A thermometer takes much of the guesswork out of frying.
Taste as you cook. Professional cooking is not just about following measurements. Ingredients vary in sweetness and acidity, especially oranges, so tasting the sauce allows you to make small adjustments before serving.
Garnish thoughtfully. Green onions, sesame seeds, and orange zest are more than decoration. They add freshness, texture, aroma, and visual contrast to the rich orange glaze.
Make-Ahead Options
The orange sauce can be prepared ahead of time and refrigerated in an airtight container. When you are ready to serve, gently reheat it in a saucepan and add a small splash of water or orange juice if it has thickened too much.
The chicken is best cooked shortly before serving because freshly fried chicken has the crispiest texture. If you need to prepare the chicken in advance, reheat it in an oven or air fryer rather than a microwave to help restore some of its crispness.
For the best overall result, prepare the sauce ahead, chop and season the chicken, and then cook and combine everything shortly before dinner.
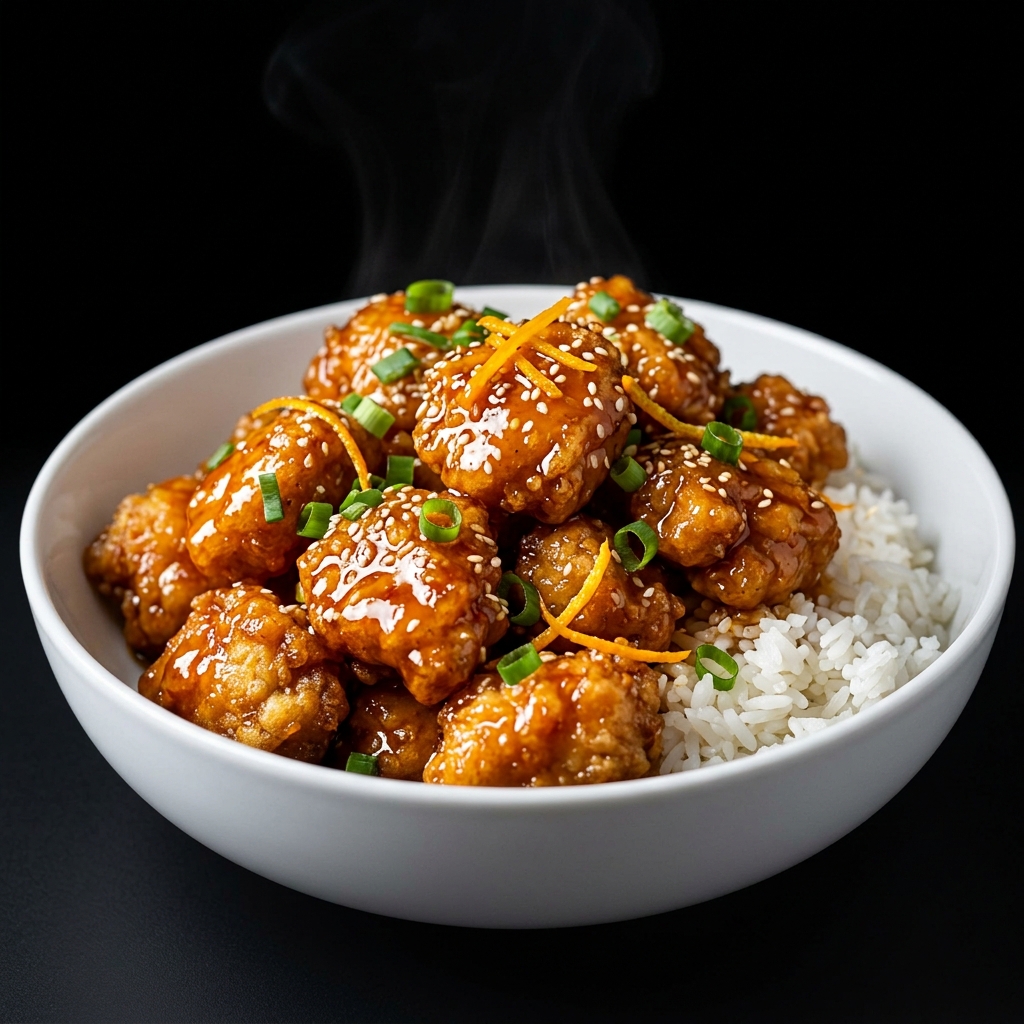
What to Serve with Orange Chicken
Steamed White Rice
Fluffy steamed rice is a classic pairing because it absorbs the extra orange sauce and provides a neutral base for the bold flavors.
Fried Rice
For a more substantial takeout-style meal, serve Orange Chicken with vegetable fried rice or egg fried rice.
Steamed Broccoli
The fresh, slightly crisp texture of broccoli provides a nice contrast to the sticky chicken and makes the meal feel more balanced.
Stir-Fried Vegetables
Bell peppers, carrots, snow peas, mushrooms, cabbage, and snap peas all pair naturally with the citrusy sauce.
Chow Mein or Stir-Fried Noodles
Noodles turn the dish into a hearty dinner and work especially well when tossed with some of the remaining orange sauce.
Cucumber Salad
A cool cucumber salad can provide a refreshing contrast to the warm, sweet-and-savory chicken, particularly if you have made a spicy version.
How to Store Orange Chicken
Allow leftover Orange Chicken to cool before transferring it to an airtight food-storage container. Refrigerate promptly and consume within 3 to 4 days for best quality.
For the best texture when reheating, use an oven, toaster oven, or air fryer. These methods can help bring some crispness back to the chicken.
A microwave is convenient, but it tends to soften the coating because the trapped steam penetrates the crispy exterior.
If you know you will have leftovers, consider keeping the chicken and sauce separate whenever possible. Reheating the chicken without sauce and combining them immediately before eating gives you a better texture than storing the chicken completely coated.
Frequently Asked Questions
Can I use chicken thighs instead of chicken breast?
Yes. Boneless, skinless chicken thighs work very well and produce juicy, flavorful Orange Chicken. Cut them into evenly sized bite-sized pieces so they cook consistently.
Why is my Orange Chicken not crispy?
Several things can cause this. The oil may not have been hot enough, the pan may have been overcrowded, the chicken may have been too wet before coating, or the chicken may have sat in the sauce for too long. For maximum crispness, fry in batches and toss with sauce immediately before serving.
Can I make Orange Chicken without frying?
Yes. You can bake or air-fry the coated chicken instead. The resulting texture will be somewhat different from deep-fried Orange Chicken, but it can still be crisp and delicious when served with the homemade orange sauce.
Can I make the orange sauce ahead of time?
Absolutely. The sauce is one of the easiest components to prepare ahead. Refrigerate it in an airtight container and gently reheat it before tossing it with freshly cooked chicken.
How do I make Orange Chicken less sweet?
Reduce the brown sugar slightly and increase the rice vinegar or fresh orange zest to taste. Because oranges vary naturally in sweetness, tasting the sauce before adding the chicken is the best way to adjust its balance.
What type of orange is best?
Any sweet, juicy orange can work. Freshly squeezed juice is particularly useful because you can also use the zest, giving the recipe a stronger natural orange aroma.
Can I freeze Orange Chicken?
Yes, although freezing can soften the crispy coating. For better results, freeze the cooked chicken and sauce separately when possible, then reheat the chicken in an oven or air fryer and warm the sauce separately before combining them.
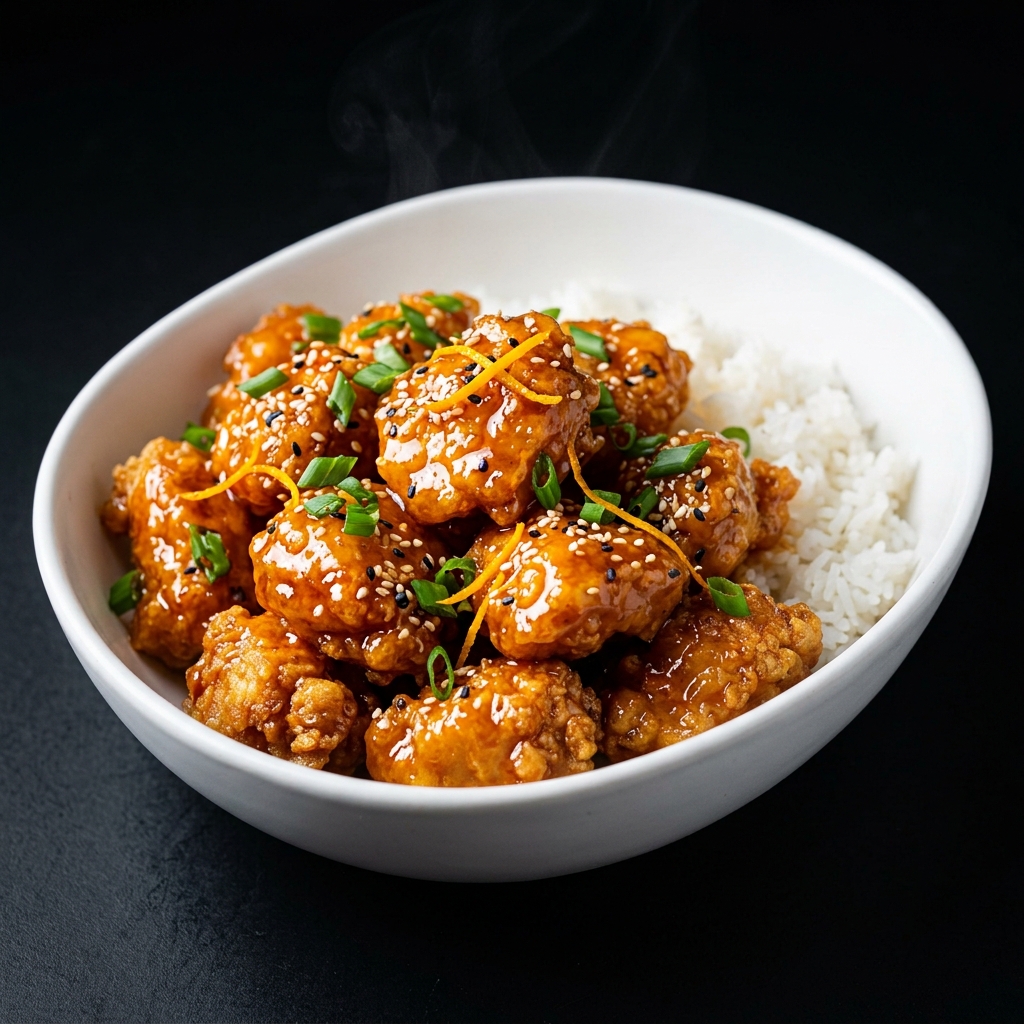
Orange Chicken
Ingredients
Equipment
Method
- Prepare the chicken: Pat the chicken pieces dry with paper towels and cut them into evenly sized bite-sized pieces. Season with salt, black pepper, and garlic powder.
- Prepare the coating: In one shallow bowl, whisk together the egg and milk or water. In another bowl, combine the cornstarch and flour.
- Coat the chicken: Dip each chicken piece into the egg mixture, allowing excess to drip away. Transfer to the cornstarch-flour mixture and coat thoroughly. Gently press the coating onto the chicken for a crispier crust.
- Heat the oil: Heat several inches of neutral cooking oil in a heavy-bottomed skillet or pot over medium-high heat. The oil should be hot enough that a small piece of coating bubbles immediately when added.
- Fry the chicken: Cook the chicken in batches without overcrowding the pan. Fry until golden brown, crisp, and cooked through, turning occasionally for even browning. The chicken should reach an internal temperature of 165°F (74°C).
- Drain: Transfer the cooked chicken to a wire rack set over a baking sheet or a paper towel-lined plate. Continue frying until all the chicken is cooked.
- Make the orange sauce: Add the orange juice, orange zest, brown sugar, soy sauce, rice vinegar, garlic, ginger, and red pepper flakes to a medium saucepan. Whisk together and bring to a gentle simmer over medium heat.
- Thicken the sauce: In a small bowl, whisk the cornstarch with the water until smooth. Slowly pour the slurry into the simmering orange sauce while whisking continuously. Cook for a few minutes until the sauce becomes glossy and thick enough to coat the back of a spoon.
- Taste and adjust: Taste the sauce and adjust as needed. Add a little rice vinegar for more tang, orange zest for stronger citrus flavor, or a small amount of soy sauce for additional savory depth.
- Combine: Place the crispy chicken in a large bowl or skillet and pour the warm orange sauce over it. Toss gently until every piece is evenly coated.
- Garnish and serve: Sprinkle with sliced green onions and sesame seeds. Add extra orange zest or thin orange slices if desired. Serve immediately with steamed white rice, fried rice, noodles, or vegetables.
Notes
Cut the chicken into evenly sized pieces so everything cooks at the same rate.
Fry the chicken in batches to maintain the oil temperature and keep the coating crisp.
A wire rack is preferable to a flat plate because it allows excess oil and steam to escape.
Toss the chicken with the sauce immediately before serving for the crispiest texture.
For a gluten-free version, use certified gluten-free tamari or gluten-free soy sauce and verify that all packaged ingredients are gluten-free.
For extra heat, increase the red pepper flakes or add a small amount of chili sauce.
Leftovers can be refrigerated in an airtight container for 3–4 days. Reheat in an oven or air fryer when possible to help restore the chicken's texture.

Hi, I’m Clara, the creator of Barakala. I love sharing simple, comforting, and delicious recipes that make everyday cooking easier and more enjoyable for home cooks.