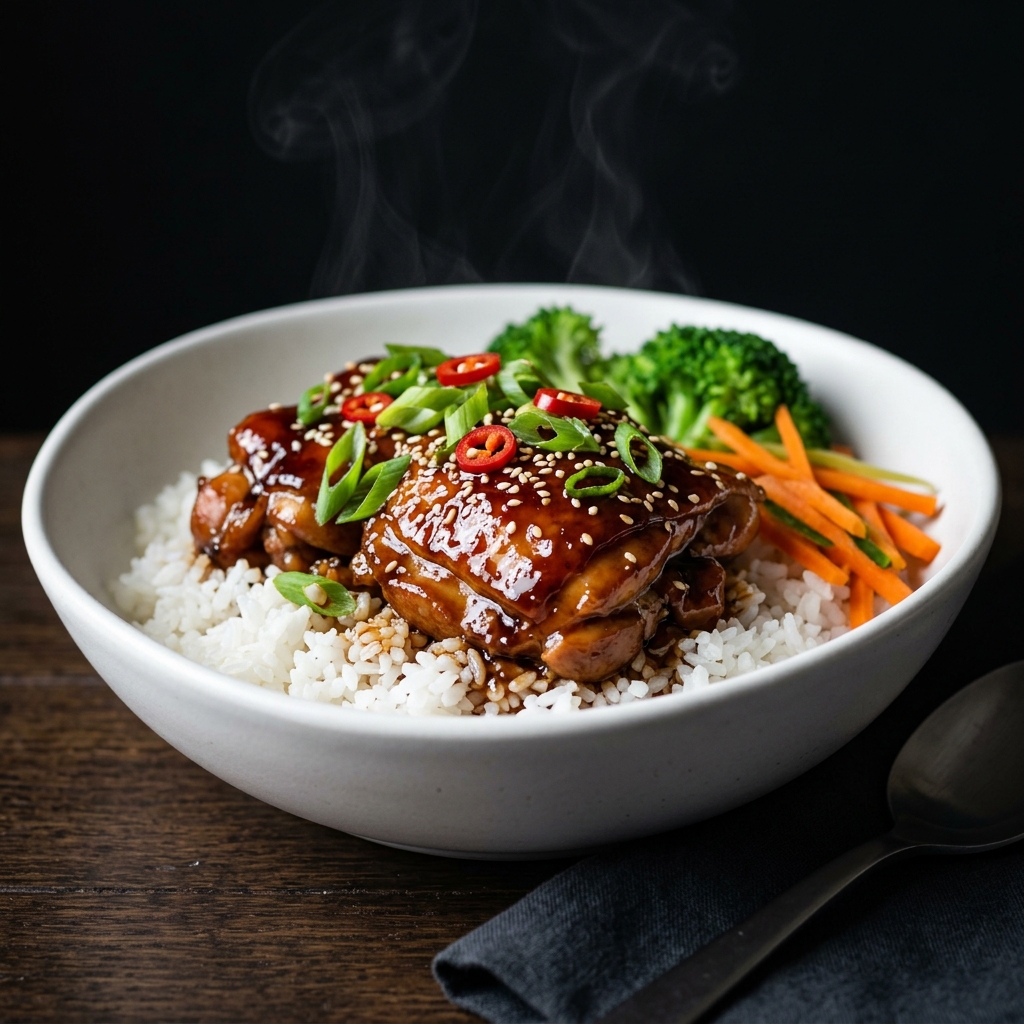
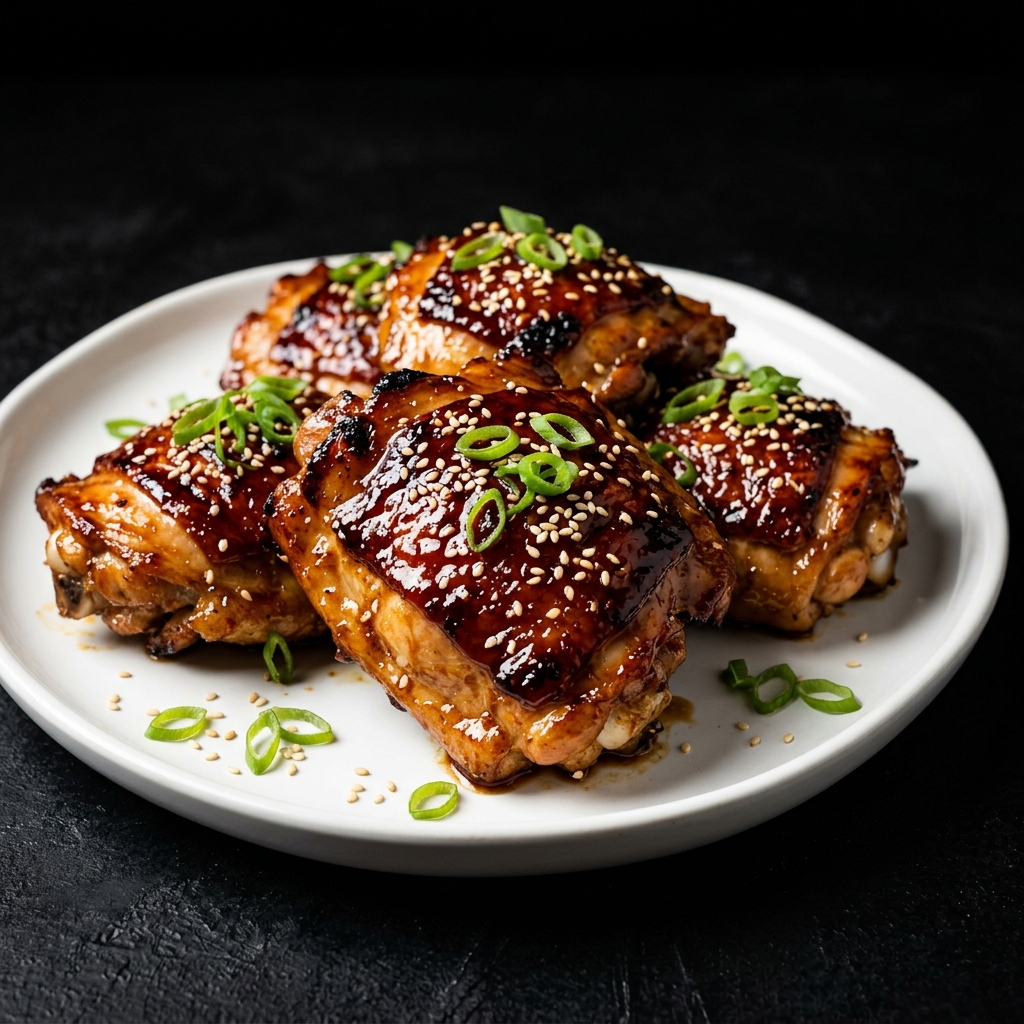
Juicy chicken thighs, caramelized edges, and a glossy teriyaki glaze that clings to every bite—this is the kind of dinner that makes everyone rush to the table. These Sticky Teriyaki Chicken Thighs are packed with sweet, savory, garlicky, and slightly tangy flavors, yet they are surprisingly simple to prepare at home.
Ingredients You’ll Need
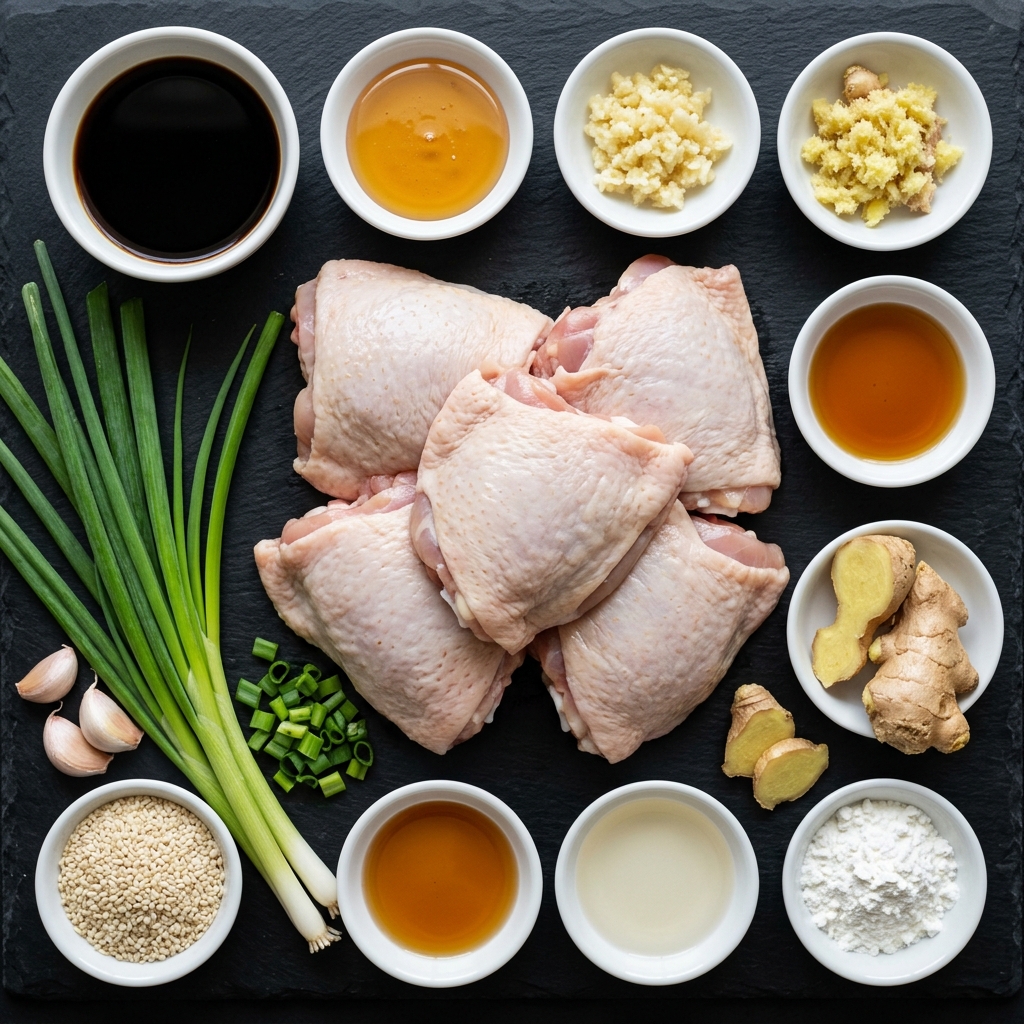
For the Chicken
- 8 boneless, skinless chicken thighs – Chicken thighs are ideal because they remain tender and juicy while developing beautifully browned edges. Bone-in, skin-on thighs can also be used, although they will require additional cooking time.
- 1 tablespoon neutral cooking oil – Use an oil with a relatively high smoke point, such as avocado, canola, vegetable, or light olive oil.
- ½ teaspoon salt – Use a modest amount because soy sauce already contributes significant saltiness.
- ½ teaspoon black pepper – Freshly ground black pepper adds a gentle savory bite.
- ½ teaspoon garlic powder – This gives the chicken another layer of garlic flavor before the teriyaki sauce is added.
For the Teriyaki Glaze
- ½ cup low-sodium soy sauce – This forms the savory foundation of the sauce. Low-sodium soy sauce gives you more control over the final seasoning.
- ¼ cup honey or brown sugar – Honey creates a particularly glossy glaze, while brown sugar gives the sauce a deeper caramel flavor. Either works beautifully.
- 2 tablespoons rice vinegar – This balances the sweetness and keeps the finished sauce from tasting heavy.
- 1 tablespoon sesame oil – A little goes a long way. Sesame oil adds a distinctive nutty aroma to the finished dish.
- 3 cloves garlic, finely minced – Fresh garlic provides much more fragrance than pre-minced garlic.
- 1 tablespoon fresh ginger, grated – Fresh ginger brings warmth and a mild peppery quality that complements the sweet glaze.
- ½ cup water – This initially loosens the sauce and allows the flavors to combine before the mixture reduces.
- 1 tablespoon cornstarch – Cornstarch helps the sauce thicken into that characteristic sticky teriyaki consistency.
- 2 tablespoons cold water – Used to make the cornstarch slurry.
For Garnishing
- 1–2 green onions, thinly sliced
- 1 tablespoon toasted sesame seeds
The garnishes are optional, but I highly recommend them. The green onions provide freshness and color, while sesame seeds add a delicate crunch and nutty flavor.
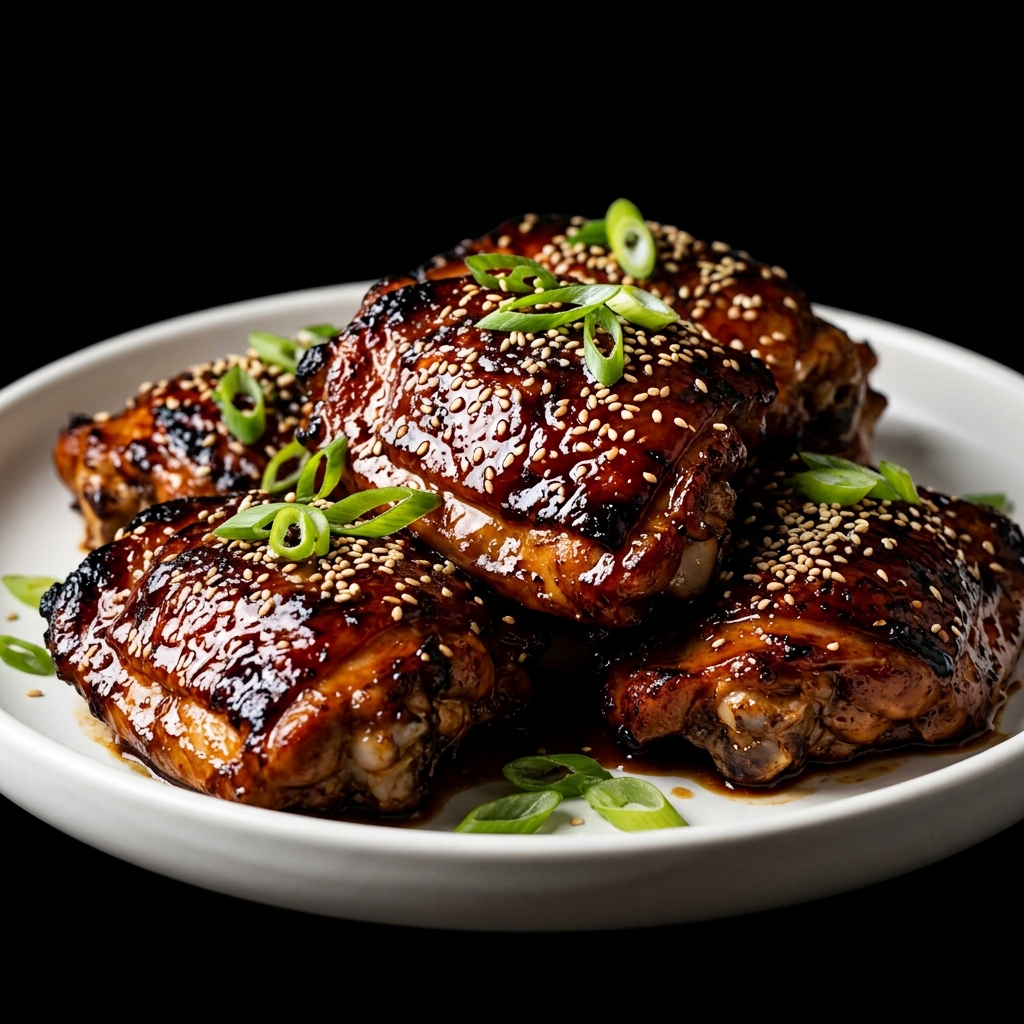
How to Make Sticky Teriyaki Chicken Thighs
1. Prepare the Chicken
Start by patting the chicken thighs thoroughly dry with paper towels. This simple step is more important than it may seem.
Excess moisture on the surface of the chicken creates steam when it hits the pan, which makes browning more difficult. Dry chicken has a much better chance of developing the deep golden-brown crust that gives this dish so much flavor.
Trim away any large pieces of excess fat, but do not remove every little bit. Some of the natural fat helps keep the thighs moist and flavorful during cooking.
Season both sides with salt, black pepper, and garlic powder.
2. Mix the Teriyaki Sauce
In a bowl, combine the soy sauce, honey or brown sugar, rice vinegar, sesame oil, minced garlic, grated ginger, and water.
Whisk everything together until the sweetener is reasonably well incorporated.
In a separate small bowl, combine the cornstarch with two tablespoons of cold water. Stir until completely smooth.
This is called a cornstarch slurry, and it should always be mixed with cold water before being added to a hot sauce. Adding dry cornstarch directly to the pan can cause unpleasant lumps.
Set both mixtures aside.
3. Brown the Chicken
Place a large skillet over medium-high heat and add the cooking oil.
Once the oil is hot, carefully place the chicken thighs into the pan in a single layer. Avoid overcrowding the skillet. If the pieces are packed too closely together, they will release moisture and steam instead of developing a beautiful sear.
Cook the chicken for approximately 4–6 minutes on the first side, or until deeply golden brown.
Turn the thighs and cook the other side for another 3–5 minutes.
At this stage, the chicken does not necessarily need to be completely cooked through. The goal is to build color and flavor. The chicken will continue cooking as it simmers in the teriyaki sauce.
4. Add the Teriyaki Sauce
Reduce the heat to medium and carefully pour the prepared teriyaki mixture into the skillet.
You should immediately notice the garlic and ginger becoming fragrant as the sauce hits the hot pan.
Use a wooden spoon or silicone spatula to gently scrape the browned bits from the bottom of the skillet. Those caramelized pieces contain concentrated flavor, and incorporating them into the sauce makes the finished dish much more delicious.
Bring the sauce to a gentle simmer.
5. Let the Chicken Cook in the Glaze
Allow the chicken to simmer gently in the sauce for several minutes, turning the thighs occasionally so they become coated on all sides.
Do not rush this stage. The sauce needs enough time to reduce and concentrate while the chicken finishes cooking.
When chicken is cooked, the safest way to confirm doneness is with an instant-read thermometer. The thickest part of the chicken should reach at least 165°F (74°C).
For chicken thighs, cooking somewhat beyond the minimum safe temperature can often produce an even more tender texture because thighs contain connective tissue that softens with additional cooking.
6. Thicken the Sauce
Give the cornstarch slurry another quick stir because cornstarch settles quickly.
Pour it gradually into the simmering sauce while stirring continuously.
Within a minute or two, the sauce should begin to thicken noticeably.
You are looking for a glaze that is thick enough to coat the chicken rather than a thin liquid that simply pools around it.
Once the sauce becomes glossy and sticky, reduce the heat to low.
7. Coat Every Piece
Turn the chicken thighs several times in the thickened sauce, spooning the glaze over the top.
This is the moment when the dish transforms. The sauce should cling to the chicken, creating a shiny coating with caramelized edges and a deep reddish-brown color.
If the sauce becomes too thick before the chicken is ready, add a small splash of water and stir. If it remains too thin, allow it to simmer uncovered for another minute or two.
Remember that the glaze will continue to thicken slightly as it cools.
8. Garnish and Serve
Transfer the sticky chicken thighs to a modern serving plate or shallow bowl.
Spoon any remaining glaze from the skillet over the chicken.
Finish with sliced green onions and toasted sesame seeds.
For an especially attractive presentation, arrange the chicken thighs slightly overlapping rather than stacking them completely. This allows the glossy glaze and caramelized surfaces to remain visible.
Serve immediately while the chicken is hot and the teriyaki glaze is at its most luxurious.
The Secret to Truly Sticky Teriyaki Chicken
The biggest difference between ordinary teriyaki chicken and exceptionally good teriyaki chicken is not simply the ingredients—it is how you handle the sauce.
A common mistake is treating the teriyaki sauce as something that should merely surround the chicken. Instead, think of it as a glaze that needs to be concentrated. As the sauce simmers, water evaporates and the flavors become more intense. Cornstarch then gives it additional body, allowing the glaze to cling to the chicken rather than run straight off.
There is another important detail: brown the chicken before glazing it. That golden crust creates flavor through the Maillard reaction, while the final simmer allows the sauce to penetrate the browned exterior. You get both savory caramelization and a sticky, sweet glaze instead of choosing between them.
This two-stage approach is one of the easiest ways to make a simple chicken dinner taste restaurant-worthy.
Variations to Try
One of the best things about this recipe is how easy it is to adapt without losing its signature sweet-savory character.
Spicy Sticky Teriyaki Chicken
If you enjoy heat, add ½–1 teaspoon of red pepper flakes to the sauce. You can also add a small amount of sriracha or another chili sauce for a stronger kick.
For a more complex spicy version, combine chili sauce with the honey. The sweetness helps balance the heat while maintaining the glossy texture of the glaze.
Teriyaki Chicken with Vegetables
Turn this into a complete skillet meal by adding vegetables such as broccoli, bell peppers, snow peas, carrots, or sliced mushrooms.
For best results, cook the vegetables separately or add them at different stages depending on how quickly they cook. You want them tender-crisp rather than soft and watery.
Pineapple Teriyaki Chicken
For a sweeter tropical variation, add chunks of fresh or canned pineapple toward the end of cooking.
Pineapple provides acidity that cuts through the richness of the chicken while adding natural sweetness to the sauce.
Boneless Chicken Breast
Chicken breast can be substituted for chicken thighs, but take care not to overcook it. Chicken breast is considerably leaner and can become dry more quickly.
Cutting larger breasts into evenly sized pieces can help them cook more consistently.
Bone-In Teriyaki Chicken Thighs
Bone-in thighs offer even more flavor and can produce exceptionally juicy results. They simply need additional cooking time.
Make sure the thickest part of the meat reaches the safe internal temperature before serving.
Gluten-Free Teriyaki Chicken
Traditional soy sauce usually contains wheat, so this recipe is not automatically gluten-free.
For a gluten-free version, use a certified gluten-free soy sauce or tamari, and verify that your other packaged ingredients are also gluten-free.
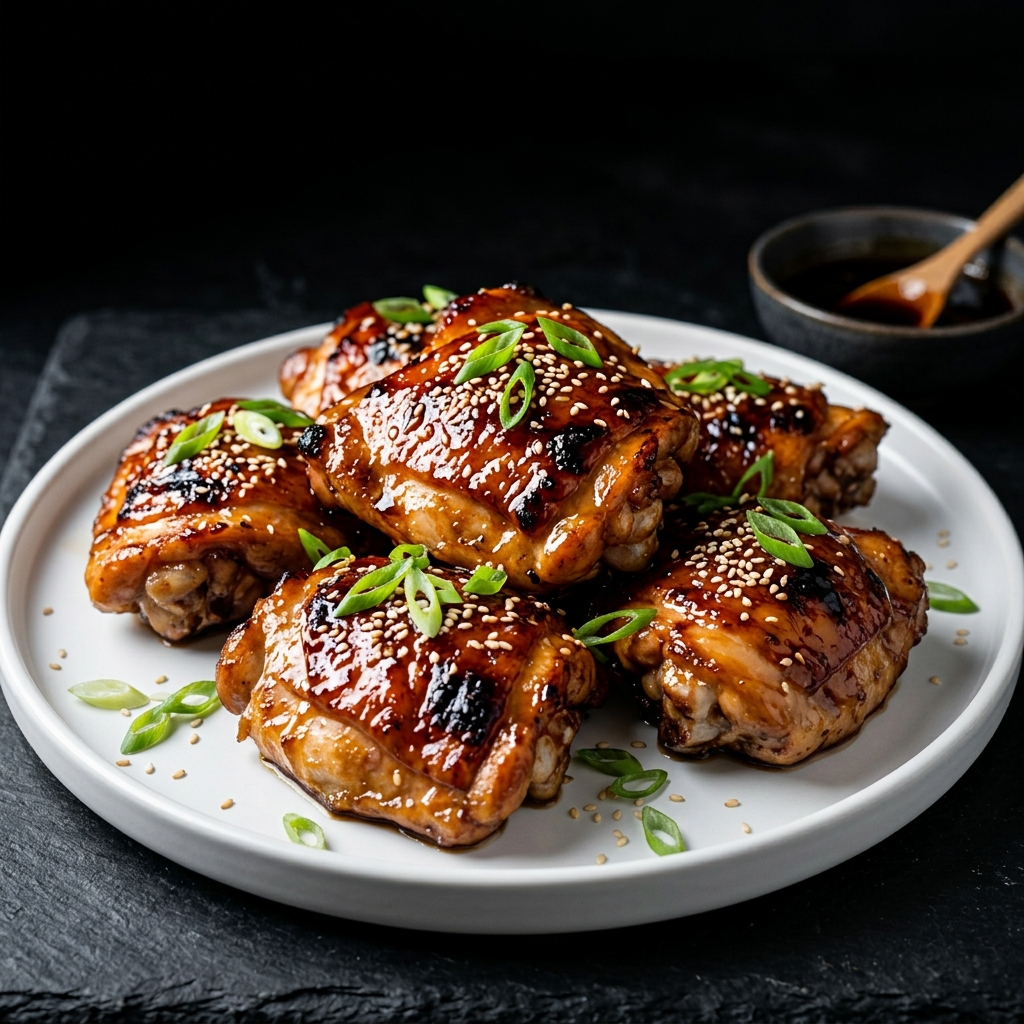
Expert Tips for the Best Results
Pat the Chicken Dry
Never underestimate this step. Dry chicken browns much more effectively than wet chicken.
Do Not Overcrowd the Pan
If necessary, brown the chicken in batches. Giving each thigh enough space allows the surface to caramelize properly.
Use Fresh Garlic and Ginger
Fresh aromatics make an enormous difference in a sauce with relatively few ingredients. Freshly grated ginger and freshly minced garlic provide a brighter, more complex flavor.
Keep the Sauce at a Gentle Simmer
A violent boil can reduce the sauce too quickly and potentially cause the sugars to burn. A gentle simmer gives you better control over the reduction.
Taste Before Adding Extra Salt
Soy sauce can vary considerably in saltiness. Always taste the finished glaze before deciding whether it needs additional salt.
Toast Your Sesame Seeds
If you have a few extra minutes, lightly toast the sesame seeds in a dry skillet until fragrant and lightly golden. They become noticeably nuttier and crunchier.
Don’t Add Too Much Cornstarch
The goal is a glossy glaze, not a thick paste. Start with the recommended amount and allow the sauce time to thicken before adding more.
Let the Chicken Rest Briefly
After removing the skillet from the heat, allow the chicken to rest for a few minutes before serving. This gives the juices a chance to redistribute and allows the glaze to settle onto the chicken.
Make-Ahead Options
The teriyaki sauce can be prepared ahead of time and stored in the refrigerator until you are ready to cook the chicken.
For meal preparation, you can also cook the chicken completely, allow it to cool, and refrigerate it in an airtight container. When reheating, use a skillet over medium-low heat and add a small splash of water to loosen the glaze.
Avoid reheating the chicken aggressively over high heat because the sugar-rich teriyaki glaze can burn before the chicken is heated through.
The finished chicken is also excellent for preparing weekday lunches. Slice it and serve over rice with steamed vegetables for an easy meal-prep bowl.
What to Serve with Sticky Teriyaki Chicken Thighs
These chicken thighs are flavorful enough to be the centerpiece of a meal, but the right side dishes can turn them into a complete dinner.
Steamed White Rice
This is one of the simplest and best pairings. The neutral rice absorbs the extra teriyaki glaze and balances the intense savory-sweet flavor of the chicken.
Jasmine Rice
Jasmine rice is especially good because its delicate fragrance complements the garlic, ginger, and sesame flavors in the sauce.
Fried Rice
For a heartier meal, serve the chicken alongside vegetable or egg fried rice.
Steamed Broccoli
Broccoli adds freshness and a slightly bitter contrast to the sweet teriyaki glaze. Drizzle a little of the leftover sauce over the vegetables just before serving.
Roasted or Stir-Fried Vegetables
Bell peppers, carrots, zucchini, mushrooms, snow peas, and green beans all pair beautifully with teriyaki chicken.
Cucumber Salad
A crisp cucumber salad provides a refreshing contrast to the warm, sticky chicken and rich glaze.
Noodles
Serve the chicken with soba noodles, ramen-style noodles, or simple stir-fried noodles for a satisfying alternative to rice.
How to Store Sticky Teriyaki Chicken Thighs
Allow leftover chicken to cool before transferring it to an airtight container.
Store it in the refrigerator and consume it within 3–4 days for best quality and food safety.
Keep the chicken and any extra sauce together when possible. The glaze helps protect the chicken from drying out during reheating.
For longer storage, cooked chicken can be frozen in a freezer-safe airtight container. Portioning it before freezing makes it easier to thaw only what you need.
When reheating refrigerated chicken, use a skillet over medium-low heat with a splash of water. Cover the pan briefly to help warm the chicken without drying it out.
If reheating from frozen, thaw it safely in the refrigerator before reheating whenever possible.
Frequently Asked Questions
Can I use chicken breasts instead of chicken thighs?
Yes. Chicken breasts work well, but they contain less fat than thighs and can dry out if overcooked. Keep a close eye on their internal temperature and avoid simmering them for longer than necessary.
Why isn’t my teriyaki sauce getting sticky?
The sauce may need more time to reduce, or the cornstarch slurry may not have been incorporated properly. Let the sauce simmer gently until some of the liquid evaporates, then add the slurry and cook briefly until glossy and thick.
Can I make teriyaki chicken without cornstarch?
Yes. You can make the sauce sticky simply by reducing it longer. However, cornstarch makes it much easier to achieve a thick, glossy glaze without reducing the sauce excessively.
Can I use bottled teriyaki sauce?
You can, especially when convenience is the priority. However, homemade sauce gives you much greater control over sweetness, saltiness, garlic, ginger, and thickness.
How do I prevent the chicken from sticking to the pan?
Make sure the skillet and oil are properly heated before adding the chicken. Also, avoid moving the chicken too early. Once a good crust develops, it will usually release more easily from the pan.
Can I make this recipe spicy?
Absolutely. Red pepper flakes, chili garlic sauce, sriracha, or fresh sliced chili peppers can all add heat. Add a little at a time and taste the sauce as you go.
Is this recipe gluten-free?
Not when prepared with conventional soy sauce. To make it gluten-free, use certified gluten-free soy sauce or tamari and check the labels of the remaining ingredients.
Can I use bone-in chicken thighs?
Yes. Bone-in thighs work beautifully, although they take longer to cook. Always check the thickest portion of the meat with a thermometer to ensure it has reached a safe internal temperature.
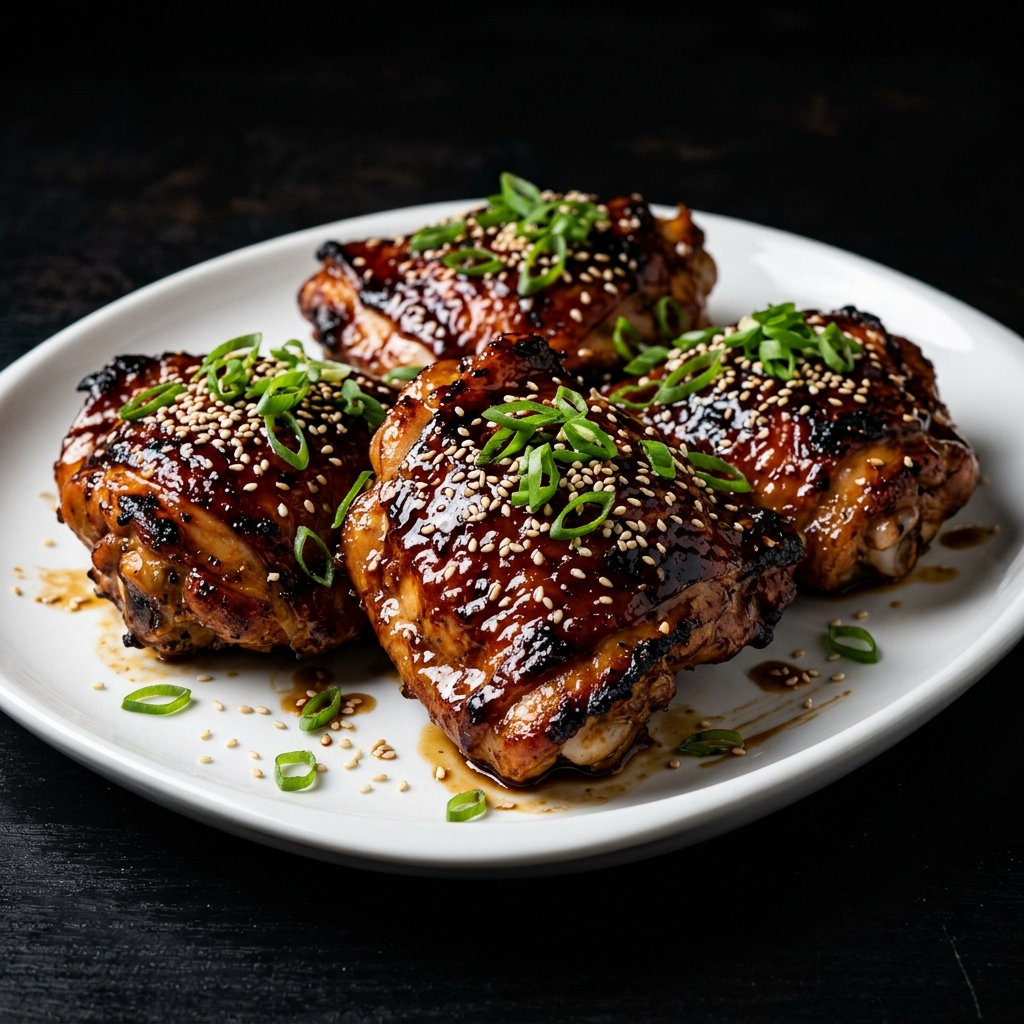
Sticky Teriyaki Chicken Thighs
Ingredients
Equipment
Method
- Prepare the chicken: Pat the chicken thighs thoroughly dry with paper towels. Trim away any large pieces of excess fat, then season both sides with salt, black pepper, and garlic powder.
- Prepare the teriyaki sauce: In a bowl, whisk together the soy sauce, honey or brown sugar, rice vinegar, sesame oil, minced garlic, grated ginger, and ½ cup water.
- Make the slurry: In a separate small bowl, whisk the cornstarch with 2 tablespoons of cold water until completely smooth. Set aside.
- Heat the skillet: Place a large skillet over medium-high heat and add the cooking oil. Allow the oil to become hot before adding the chicken.
- Brown the chicken: Arrange the chicken thighs in a single layer without overcrowding the pan. Cook for about 4–6 minutes on the first side, until deeply golden brown. Turn and cook for another 3–5 minutes.
- Add the sauce: Reduce the heat to medium and pour the prepared teriyaki sauce into the skillet. Use a wooden spoon or spatula to gently scrape up the browned bits from the bottom of the pan.
- Simmer: Allow the chicken to simmer gently in the sauce, turning the thighs occasionally so the sauce coats all sides. Continue cooking until the chicken reaches an internal temperature of at least 165°F (74°C).
- Thicken the glaze: Stir the cornstarch slurry again, then gradually pour it into the simmering sauce while stirring. Continue cooking for 1–2 minutes, or until the sauce becomes thick, glossy, and sticky.
- Glaze the chicken: Turn the chicken thighs several times in the thickened sauce, spooning the glaze over the top until every piece is generously coated.
- Garnish: Remove the skillet from the heat and allow the chicken to rest for a few minutes. Transfer to a serving plate and garnish with sliced green onions and toasted sesame seeds.
- Serve: Spoon any remaining teriyaki glaze over the chicken and serve immediately with steamed rice, vegetables, noodles, or your favorite side dishes.
Notes
Soy sauce: Low-sodium soy sauce gives you better control over the saltiness. Regular soy sauce can be used, but you may want to reduce or omit the added salt.
Gluten-free option: Use certified gluten-free soy sauce or tamari if needed.
Sweetener: Honey produces an especially glossy glaze, while brown sugar provides a deeper caramelized flavor.
For extra heat: Add red pepper flakes, sriracha, chili garlic sauce, or finely sliced fresh chili.
For the best browning: Pat the chicken dry and avoid overcrowding the skillet.
Sauce consistency: If the glaze becomes too thick, loosen it with a small splash of water. If it is too thin, simmer it uncovered for another minute or two.
Storage: Refrigerate leftovers in an airtight container for up to 3–4 days. Reheat gently in a skillet with a splash of water to loosen the glaze.
Serving suggestion: Serve over jasmine or white rice with steamed broccoli, green beans, carrots, bell peppers, or stir-fried vegetables.

Hi, I’m Clara, the creator of Barakala. I love sharing simple, comforting, and delicious recipes that make everyday cooking easier and more enjoyable for home cooks.